
How to Set up a Twitter Bot with Python and Heroku
I just set up a Twitter bot to generate pharmaceutical ads and tweet them out a few times a day. (Source code here). I ended up piecing together concepts from a couple different tutorials in order to do this, and no single tutorial laid out the whole process, so I’m writing it up here.

The steps can be summarized as:
- write a function to generate text strings for your bot to tweet
- create a Twitter account, and set up an application under it
- set up a phone number with Google Voice
- assign your account that phone number, allowing you to create applications
- write a script that connects to your Twitter application, and sends it an API call to tweet the output of your function from step 1
- set up a Heroku app that runs the function from step 3 as a worker
- set up a basic server in your Heroku app so that Heroku won’t freak out and throw an error
- set environment variables in Heroku for your Twitter app’s credentials.
I’m using some Google features to generate a unique email and phone number for the Twitter account, but you can handle creating those with whatever service you like.
This article assumes some basic background knowledge on the following concepts: Python, REST APIs, Git, environment variables.
Because it uses Heroku, the app will have to be saved in a Git repository.
Also, I used a virtual environment and saved the requirements in a file by running
$ pip freeze > requirements.txt
This becomes relevant when you set up Heroku, which uses requirements.txt to install the Python packages you need.
1. Generate strings
I’d made this functionality a while back. For the pharma bot, I use Markov chains to generate drug names, and then insert them in a randomly generated template, to get advertisements like this:
Worried you might have twitchy ossicle? Sudate® can help!
Are you plagued by restless elbow? Ask your doctor about Estron® today!
You don’t have to deal with pompous spleen alone. Ask your doctor about Ryzema Prenztriumetine® today!
The function that creates these is called get_ad.
In your own code, replace get_ad with a function that generates whatever kind of text you like.
2. Create a Twitter app
You’ll probably want to give the bot its own account rather than Tweeting from an existing account, so set one up.
The Twitter account will need a unique email. If you want to use an email address that already has its own Twitter account, you can take advantage of Gmail’s functionality to sign up with an “alternate” email that goes to the same inbox.
You will also need to set a phone number in your app; again, you can use Google to create an alternate contact that goes to an existing number, this time using Google Voice. Next, go to your Twitter Apps dashboard and create a new app (while logged in as the bot’s account).
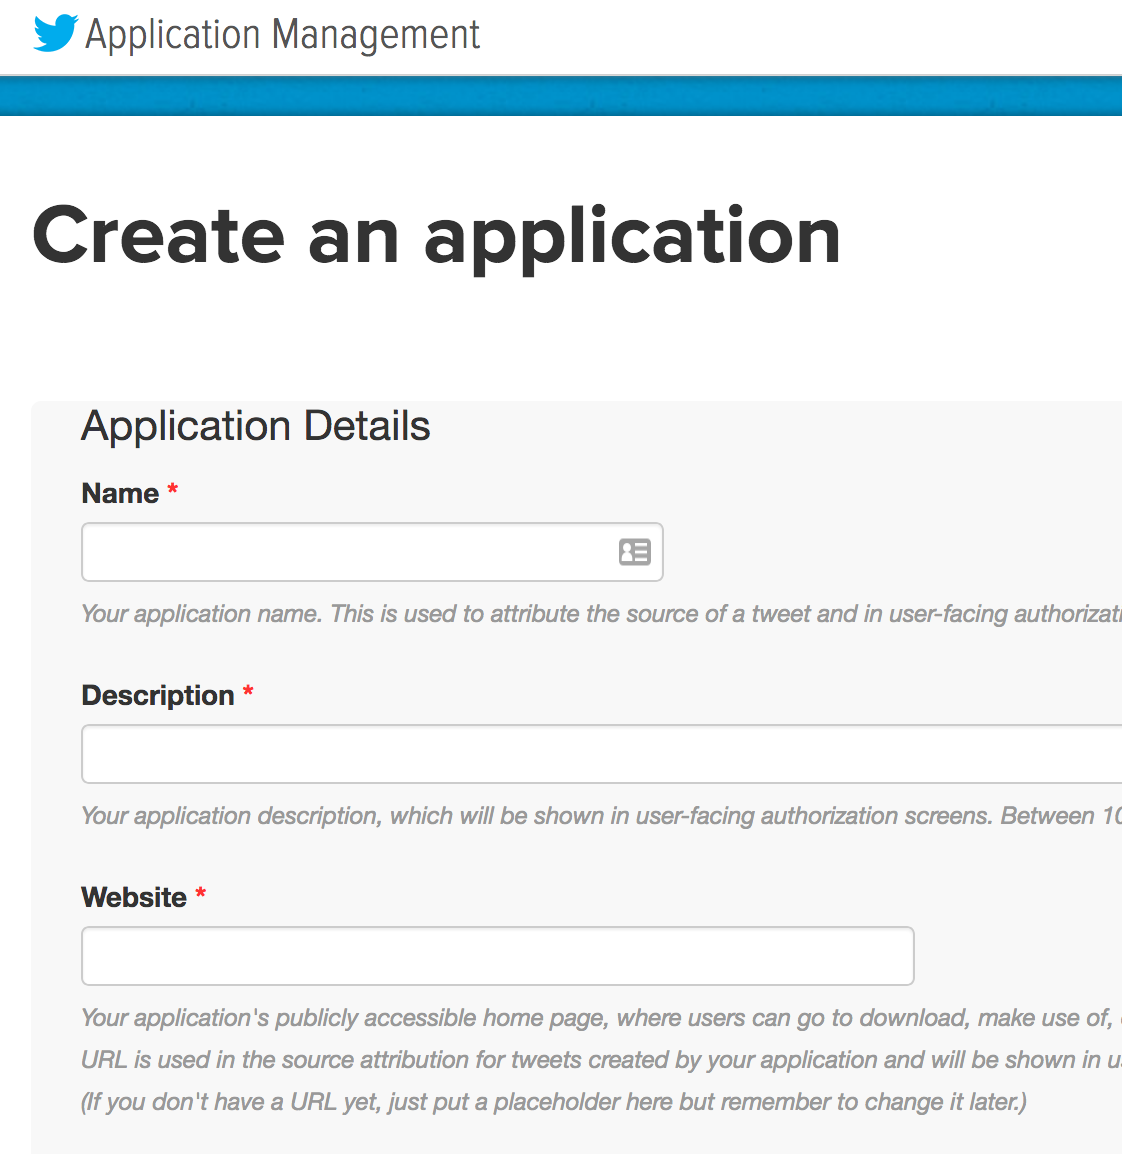
For the app’s website, I put the GitHub URL where the repo for this project lives.
Once you create the app, make sure that it allows read and write access.
3. Connect to the Twitter App and send tweets
I used this article, How To Write a Twitter Bot with Python and tweepy, as a rough guide for this part. Check it out for a guide on setting up your Twitter app and connecting to it via API. Note that you will need to add an “access key” to your Twitter application.
They have their bot reading lines from a text file; instead, I had mine call get_ad. The script that does this is called bot.py. Here’s the part that generates and sends the Tweet:
from generate_advertisement import get_ad

INTERVAL = 60 * 60 * 6  # tweet every 6 hours
# INTERVAL = 15  # every 15 seconds, for testing

auth = tweepy.OAuthHandler(CONSUMER_KEY, CONSUMER_SECRET)
auth.set_access_token(ACCESS_KEY, ACCESS_SECRET)
api = tweepy.API(auth)

while True:
    print("about to get ad...")
    ad = get_ad()
    api.update_status(ad)
    time.sleep(INTERVAL)
I then ran bot.py in my local terminal. It was able to send tweets just fine, but I don’t want to leave my laptop on and my terminal open forever, so I needed to get it running on its own server somewhere. My next task was to put the bot on Heroku.
IMPORTANT: DON’T COMMIT YOUR SECRET KEYS
Connecting to Twitter via the API (including via a wrapper library like tweepy) requires you to use keys that identify your app and authenticate you as a user. Make sure you don’t commit these keys in a Git repository.
Initially, I stored the keys in a file called credentials.py, which I added to my .gitignore. It looked like this:
CONSUMER_KEY = 'consumer key'
CONSUMER_SECRET = 'consumer secret'
ACCESS_KEY = 'access key'
ACCESS_SECRET = 'access secret'
I then imported the keys into bot.py. This didn’t end up working out once I put the app on Heroku, but it was fine for testing it on my local machine.
4. Set up Heroku
Sign up for a Heroku account if you don’t already have one. Heroku allows you to push and deploy code with Git, and you can create up to 5 apps for free.
Once you have the Heroku command line interface installed, initialize your repository with Heroku. It’s ok if you let it generate a random URL for your app, since nobody will be looking at it directly.
$ heroku create
This will set up a Heroku app and also give your Git repository a remote called heroku. The code on that remote’s master branch will be run by Heroku.
You’ll need to set up a Procfile to tell Heroku what to do once it gets your code. Put this in your Procfile:
worker: python bot.py
This means Heroku will do the equivalent of when you ran python bot.py on your local terminal.
Then commit your code and push it to Heroku.
To deploy from your local master branch:
$ git push heroku master
To deploy from a different branch:
$ git push heroku my_branch_name:master
Then you can log into your Heroku dashboard and check its activity and logs to see what happens.
5. Basic Web Server
Turns out Heroku doesn’t like to just run scripts with workers, because it expects to see a web server.
You can fix this by creating a simple web server. I used this StackOverflow answer as a guide.
Code (server.py):
from os import environ
from flask import Flask

app = Flask(__name__)
app.run(environ.get('PORT'))
Then, in your Procfile, just say: web: python server.py.
I tried this (and committed and pushed to Heroku again). I then saw the following error:
Error R10 (Boot timeout) -> Web process failed to bind to $PORT within 60 seconds of launch python flask
I fixed this by setting the host when I ran the app:
app.run(host= '0.0.0.0', port=environ.get('PORT'))
6. Set environment variables
Remember how I said not to commit your Twitter credentials to your Git repository? This becomes an issue when you deploy to Heroku, because it uses your Git repo to deploy, and so importing constants from an ignored file won’t work.
You can set environment variables in your Heroku dashboard, then use os.environ to get them in Python. Add this to bot.py before making the API call:
from os import environ
CONSUMER_KEY = environ['CONSUMER_KEY']
CONSUMER_SECRET = environ['CONSUMER_SECRET']
ACCESS_KEY = environ['ACCESS_KEY']
ACCESS_SECRET = environ['ACCESS_SECRET']
Then your app will be able to connect to the Twitter API without ever committing your secrets.
What’s Next?
Now you know how to create a Twitter bot and run it on Heroku!
You can adapt this project to tweet out anything you like. This article explains how to use Python to generate text with Markov chains. You can create a text file with each line containing a sentence you want to tweet using the method outlined in How To Write a Twitter Bot with Python and tweepy. You can tweet lines from public domain works at Project Gutenberg. Or do anything you want!